")
")

Save (as)
This is one of the really new features of TIImageTool since release 3. While all changes were immediately saved to the image file in earlier releases, now the changes are only performed in the memory image, and you need to save the changes to make them effective.
Floppy and unpartitioned hard disks
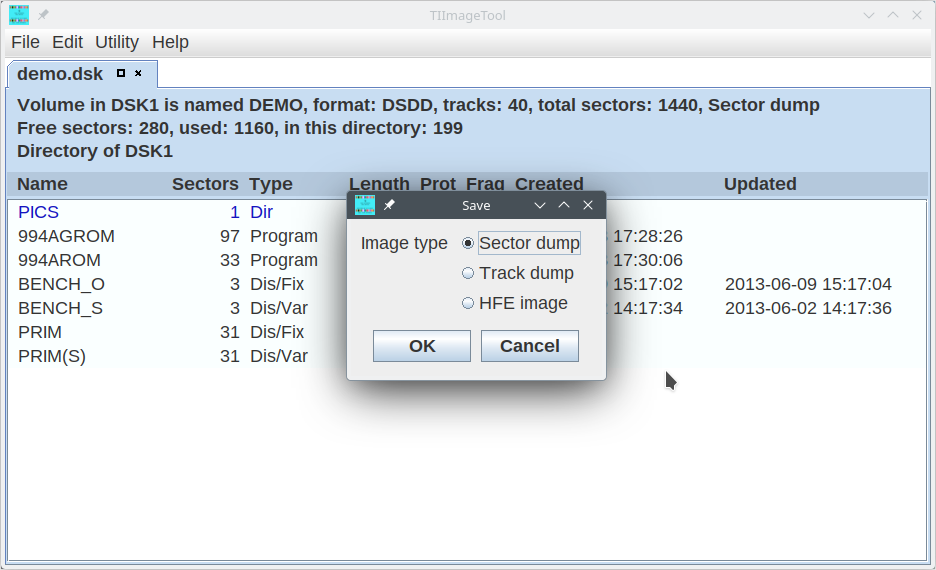
With "Save as", you have to decide which image format to use, as you see on the right for floppy and hard disk images.
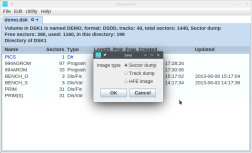 Floppy images can be saved as sector dumps (as known from the v9t9 emulator), track dumps (for PC99), or HFE images (for use with the Lotharek/GoTek floppy drive emulator).
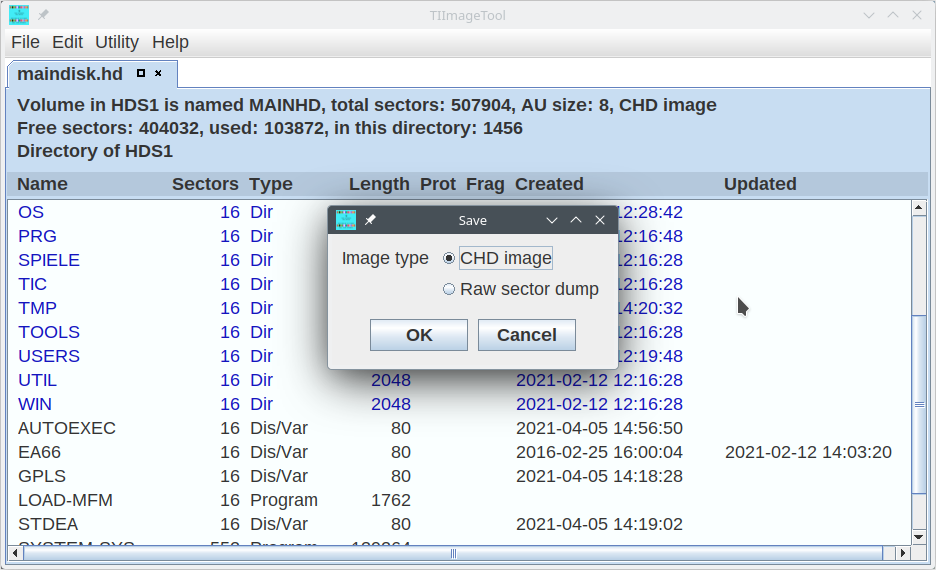
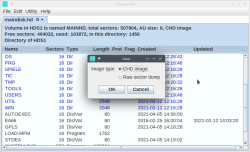 Hard disk images may be saved as raw sector dumps, but they should usually be saved as CHD files to be used in MAME. CHD files are much smaller in size than raw dumps because they store empty tracks very efficiently.
Converting from one image format to another is now strikingly simple: Just save the image by a new format. For that reason, the specific conversion functions (CHD to raw and vice versa) were removed.
If you want to save the changes to the image without creating a new file, you must use the Save function (not Save as). Of course, this function is only available when you saved the image to a file already; for newly created images, "Save" is redirected to "Save as".
Partitioned IDE drives and CF7
"Save as" will save the current volume to a specified image file. However, with partitioned images you may experience an unexpected effect: "Save as" will save only the currently opened partition / volume to a new file. If you want to save your changes back to the original, partitioned file, you have to use the "Save" function.
Remember that you have to create an empty IDE image by setting up its partition table and saving it to a file. Similarly, you have to set up CF7 images by specifying the volumes. This means that partitioned images are never pure memory images but that there is always a file that you have to open.
Export
Exporting an image means to save the contents of the image as single files on the PC file system. This allows you to store single files, to send them to someone else, or to use them in emulators that access files on the PC file system, in particular Classic99.
You can export a single file by dragging it from the opened view and dropping it into a PC folder, as explained in the General usage section. The export function in the file menu is intended to export all files of the opened image.
The TI file system uses a different set of rules than a PC file system, so you may expect tha file names that are valid on one side may be invalid on the other. For this, you can specify translation rules for exporting:
- You can specify a set of characters (as a String) that shall be replaced when the file is exported. A second string assigns the replacement characters. As an example, when we define "ABCDEF" as characters to be replaced, and "123456" as the replacement characters, the TI file name "EXBASIC" will be translated to "5X21SI3". This does not make too much sense, so usually you would replace characters like path separators (slash or backslash), periods, colons and so on. You can map different characters to the same replacement character. You can even map the character to the "empty" character, thus removing it, by setting "?" as replacement.
- TI file names are usually uppercase. If you prefer lowercase names on your PC, you can check the box "convert to lowercase".
- You can add a suffix to the names of the exported files, like ".tfi".
Note that the real TI file name is always retained inside the header of the exported file. That means that whatever name you give the file on your PC, it will - by default - use the embedded name on import. This can be changed, however, to keep the PC name (after translation).
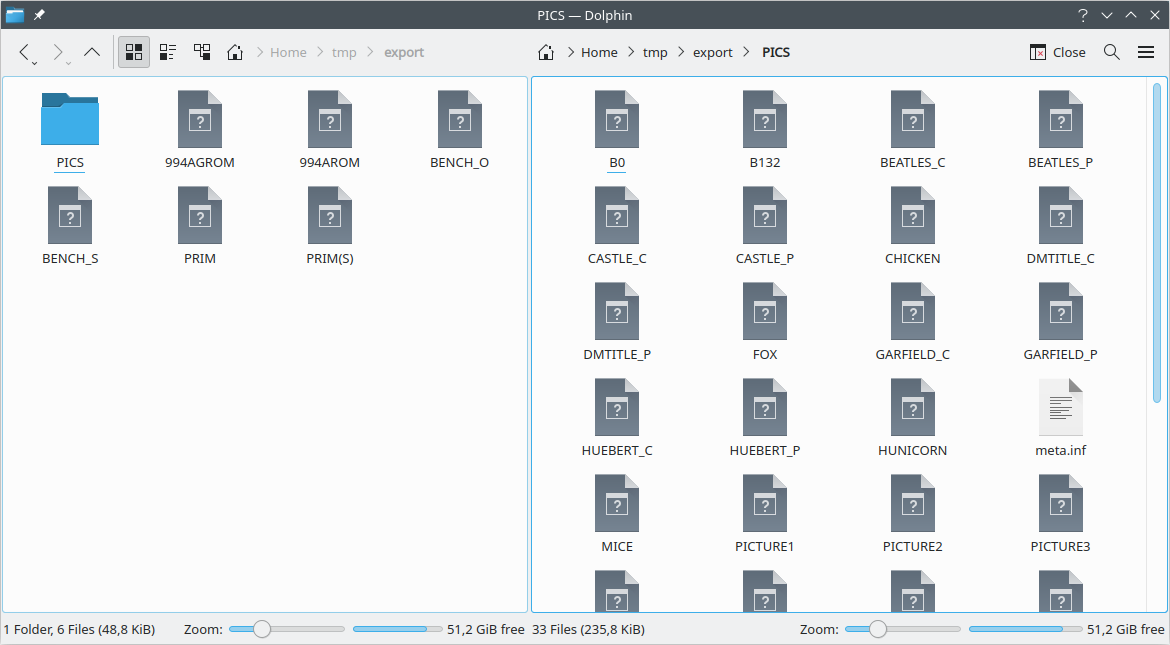
In this example, only few conversion rules were used; the file names were kept as given in the TI image, that is, uppercase and without a suffix.